Building this Blog Site
Quick Overview
This blog is built using Material for MkDocs, repo on GitHub and hosted on Netlify. That's it! I create the markdown files locally, build the site and push the changes to my repo on GitHub. Netlify picks up the changes and my new blog site is live and updated.
Ingredients
This is what you'll need to make this:
Locally
-
Python==3.8: https://www.python.org/
This was the most recent at the time I wrote this. 3.9 was just about to drop.1
python --versionNote
Currently OSX comes with Python 2.7 which is no longer supported. You should be using Python 3.x. I would recommend installing Python 3 using Homebrew. This will enable you to easily upgrade to the versions as they are released by uninstalling the old one and brewing the new version.
-
Pip>=20.1: https://pip.pypa.io/en/stable/reference/pip_install/
Package Manager for Python. Comes with Python1
pip --version -
mkdocs==1.1.2: https://www.mkdocs.org/#installation
Simple pip install for this.1
mkdocs --version -
mkdocs-material==5.2.0: https://squidfunk.github.io/mkdocs-material/getting-started/
Simple pip install for this.1
pip3 list | grep mkdocs-material -
mkdocs-material-extensions==1.0:
This comes installed with mkdocs.1
pip3 list | grep mkdocs-material -
VS Code>=1.45.1: https://code.visualstudio.com/
Doesn't really matter what version you run here. You could just use a simple text editor1
code --version -
Git>=2.21.1: https://git-scm.com/
This is the version that comes installed on your Mac. I'm runnig OSX Catalina 10.15.41
git --version
Globally
-
GitHub: https://github.com/
Create an account (if you don't already have one). This will be the repository for the source code for your site. -
Netlify: https://www.netlify.com/
Signup for a Netlify account. Currently they are free which is totally amazing. This is where your final site files will be hosted.
Putting it all together
-
Create a repo on your new github account. Follow the prompts to create a new folder locally and connect it to your repo in github
-
Follow the instructions on mkdocs to start a new project. https://www.mkdocs.org/#installation
-
Add some markdown content.
1
2
3
4
5
6
7
# To view the site while you are editing: mkdocs serve # by default you will be able to view the website on: http://127.0.0.1:8000 # Build the site: mkdocs build # This creates the actual static files and places them in the 'sites' folder -
Commit and Push to github
1
2
3
4
5
6
7
8
# Add changed files the staged list git add * # Commit these staged files with a comment git commit -m "Initial Commit to start this project" # Push the changes to github git push -
Now we setup Netlify
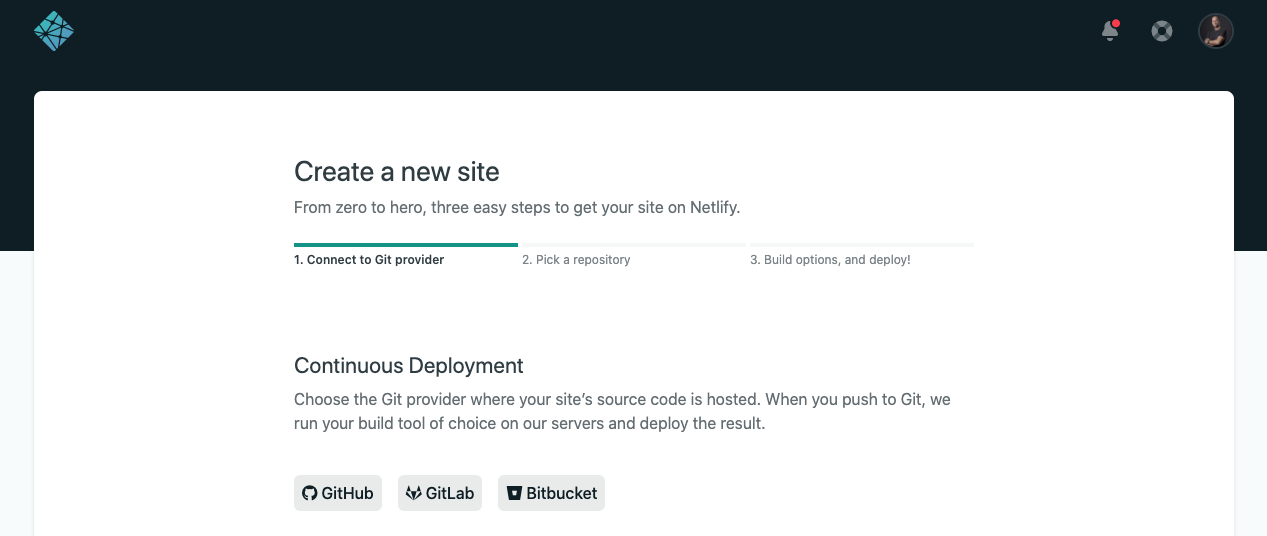
Create your account or login if you already have one.Now we want to create a new site from git.
Select GitHub and follow the prompts to connect to your github account and select your new repo that we created above.
Now we just need to specify the directory to publish which is the
sitefolder that mkdocs created for us. It is in the root path in your github repo so all you have to do is typesitein the Publish Directory form field and click deploy.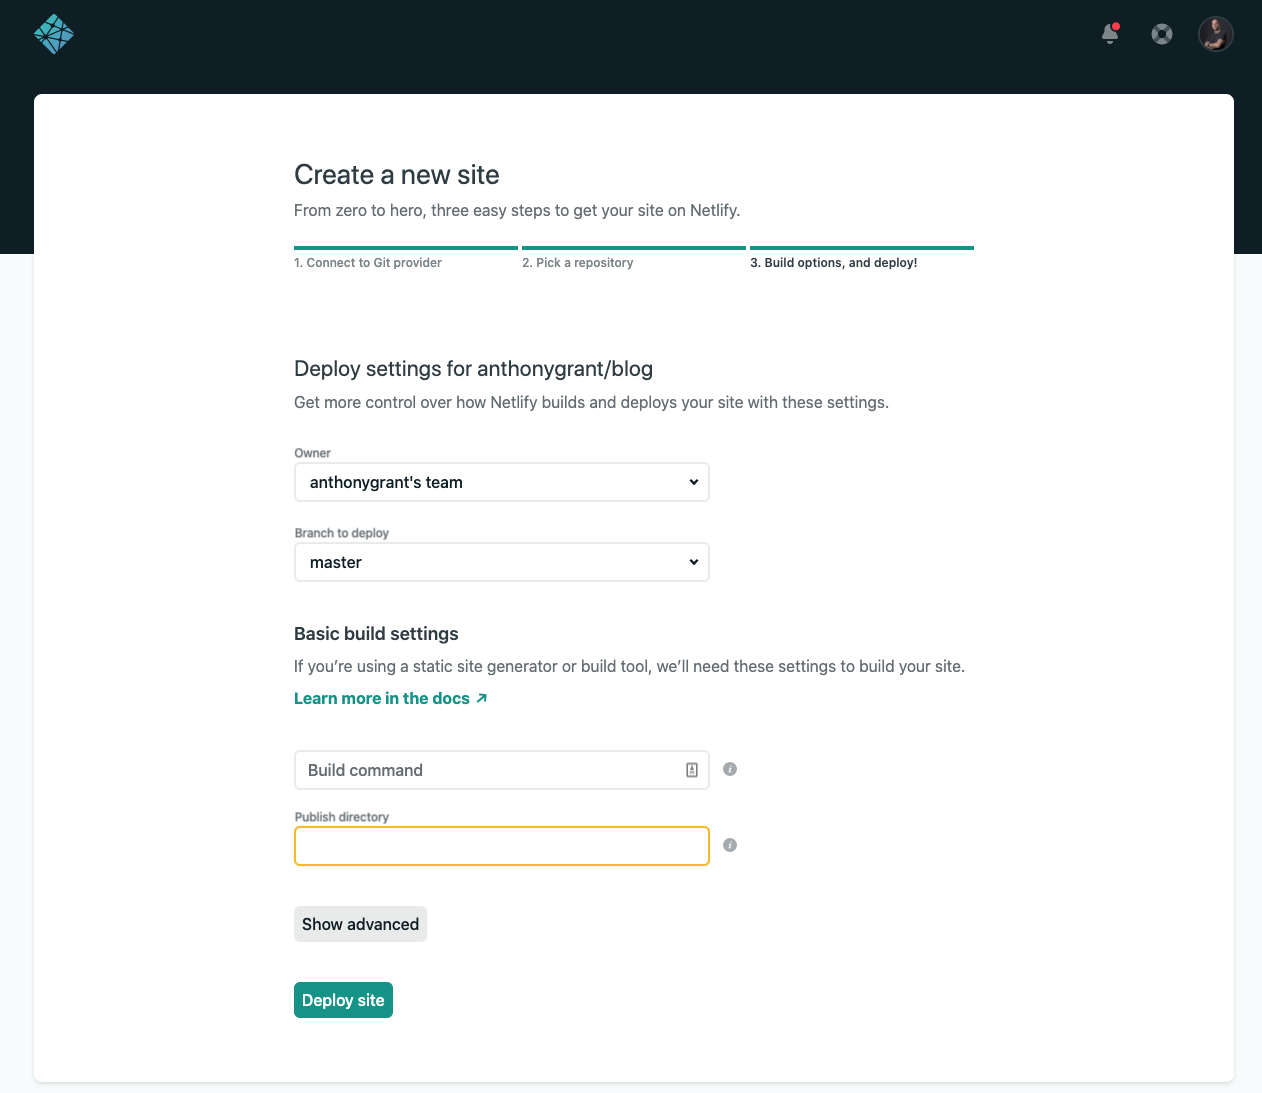
If you don't like the funky domain name that Netlify creates for your new site then you can add your own custom domain. Navigate to Domains and select
Add domain aliasenter your preferred name and click OK.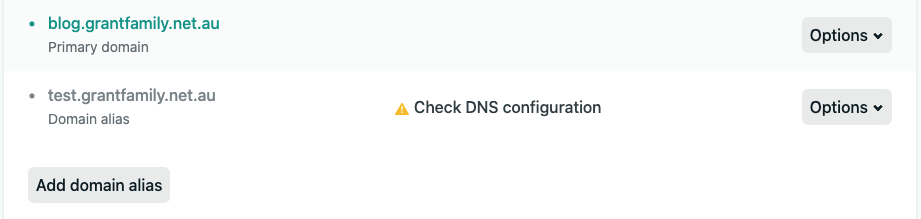
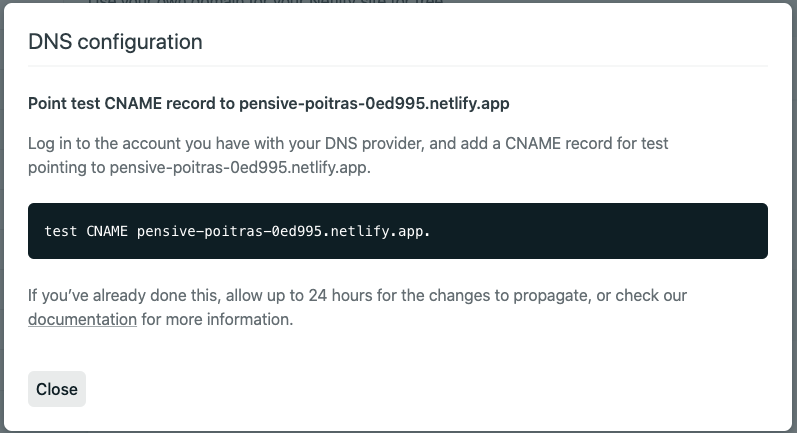
Go to your domain registry where you can add a CNAME record to point to your new Netlify site. To know what you need to add in the CNAME record just copy the contents from the
Check DNS configurationbutton in your Netlify portal.